How to remove bucket from front end loader?
Removing a front loader bucket requires careful planning and proper technique to ensure safety and efficiency. The process involves detaching the attachment mechanisms, loosening connection points, and safely separating the bucket from the loader. When performing this task, operators must follow specific procedures depending on their equipment model, but the fundamental steps remain consistent across most front end loaders. A typical bucket removal process takes approximately 30-45 minutes and requires basic tools including wrenches, safety equipment, and potentially hydraulic supports. Ensuring the machine is on level ground with the engine off and parking brake engaged is essential before beginning the removal process. With proper preparation and adherence to safety protocols, maintenance crews can efficiently remove and replace front-end loader buckets to accommodate different job requirements or perform necessary repairs.

Remove Attachments On The Bucket

Disconnect Hydraulic Systems
Before attempting to remove the front loader bucket, it's imperative to properly disconnect all hydraulic systems. Begin by locating the hydraulic lines that connect to the bucket. These lines transfer hydraulic fluid, enabling the bucket's movement and functionality. Position the bucket flat on the ground to relieve pressure from the hydraulic system. Next, turn off the loader's engine and engage the parking brake to prevent unexpected movement during maintenance.
When disconnecting hydraulic couplings, you may encounter residual pressure in the lines. To address this, cycle the hydraulic controls with the engine off to release pressure. Once depressurized, place a container beneath the connection points to catch any hydraulic fluid that might leak during disconnection. Carefully unscrew the hydraulic fittings using an appropriate wrench, taking care not to damage the threads or fittings. After disconnecting, immediately cap or plug the open hydraulic lines to prevent contamination and fluid loss.
For loaders with quick-connect hydraulic couplings, the process involves pulling back the collar on the female connector while extracting the male fitting. Remember that hydraulic systems operate under high pressure, so wearing appropriate eye protection and gloves is essential during this process.
Remove Safety Pins and Wedges
Safety pins and wedges serve as crucial mechanical safeguards that secure the bucket to the loader's arms. Identifying these components requires knowledge of your specific loader model, as designs vary between manufacturers. Typically, these safety mechanisms are located at the connection points between the bucket and the loader arms.
To remove safety pins, first locate the retaining clips or cotter pins that prevent them from sliding out during operation. Using pliers, carefully remove these retaining components and set them aside in a secure location for reinstallation later. Once the retainers are removed, extract the safety pins by tapping them gently with a hammer and punch if necessary. Some pins may require penetrating oil if they've become seized due to environmental exposure.
Wedges, which provide additional stability at connection points, typically require loosening bolts that hold them in position. Use the appropriate size wrench to loosen these bolts systematically. As you remove these components, organize them in a logical manner to facilitate reassembly. For heavier components, consider marking their positions with paint markers before removal to ensure proper alignment during reinstallation.
Detach Auxiliary Components
Modern front loader buckets often feature auxiliary components such as wear indicators, sensors, or specialized attachments that require separate disconnection. Begin by identifying all auxiliary electrical connections, which may include position sensors or automated leveling systems. Disconnect these electrical connectors by gently pulling them apart, avoiding damage to the pins or sockets.
For buckets equipped with wear protection systems, remove any bolt-on wear strips or protectors that might interfere with the bucket removal process. These components are typically secured with high-strength bolts that may require penetrating oil and substantial torque to loosen. Use a breaker bar or impact wrench for stubborn fasteners, ensuring proper socket sizing to prevent fastener damage.
Some specialized buckets incorporate additional hydraulic circuits for functions like grapples or specialized cutting edges. These secondary hydraulic systems must be disconnected following the same pressure-relief procedures used for primary hydraulics. Document the routing and connection points of these auxiliary systems to ensure proper reconnection later, particularly for complex setups with multiple hydraulic circuits.
Loosen The Connection Bolts

Identify Critical Connection Points
The front loader bucket connects to the loader through several critical points that must be properly identified before disassembly. Primary connection points typically include pivot pins at the bottom of the loader arms and linkage pins at the top that control the bucket's tilting action. These connection points transmit substantial forces during operation, so they're engineered with robust materials and precise tolerances.
Study your loader's service manual to locate all connection points specific to your model. Different manufacturers employ various attachment systems, including direct pin connections, quick couplers, or proprietary mounting systems. Connection points are usually reinforced with additional material and may feature grease fittings that indicate their importance in the assembly.
For loaders with quick-attach systems, identify the locking mechanisms that secure the attachment plate to the bucket. These typically consist of hydraulically or manually actuated hooks or wedges designed to engage with mounting points on the bucket. Understanding the specific engagement method for your loader model is crucial before attempting to loosen any connections.
Apply Proper Loosening Techniques
Loosening connection bolts on a front loader bucket requires specific techniques to prevent damage to components and ensure operator safety. Begin by applying penetrating oil to all fasteners, allowing sufficient time for it to penetrate the threads before attempting removal. This step is particularly important for equipment operating in corrosive environments or machines that haven't undergone regular maintenance.
When loosening bolts, use the correct wrench size to prevent rounding of bolt heads. Apply force steadily rather than in jerking motions, which can lead to slippage and potential injury. For bolts under significant tension, use a breaker bar or leverage extension to increase torque capability without resorting to improper tool usage. Consider the bolt pattern and loosening sequence—typically following a cross-pattern or working from the center outward—to prevent binding or warping of components.
For seized or damaged fasteners, specialized extraction techniques may be necessary. These include careful application of heat using a torch to expand the bolt relative to its housing, specialized extraction sockets designed for damaged heads, or in extreme cases, drilling and retapping operations. Document torque specifications during disassembly to ensure proper reassembly tension later.
Handle Specialized Connection Hardware
Many modern loaders incorporate specialized connection hardware that requires specific procedures for disassembly. This includes tapered bushings, self-aligning bearings, or eccentric adjusters that maintain proper alignment under load. Identify these components by their distinctive appearance or by consulting technical documentation for your specific loader model.
Tapered connections, commonly used at pivot points, often require specialized pullers for removal. These connections depend on friction between mating tapered surfaces and may be extremely difficult to separate without proper equipment. Never attempt to drive out tapered components with inappropriate tools, as this can damage precision-machined surfaces essential for proper operation.
Self-adjusting components, such as eccentric bushings or adjustable linkages, should be marked before disassembly to record their exact position. These components are carefully adjusted during assembly to provide optimal performance and incorrect repositioning can significantly affect bucket function and loader performance. For connections incorporating shims or spacers, document their exact arrangement and thickness to maintain proper operating clearances during reassembly.
Separate The Bucket From The Loader

Ensure Proper Support and Stability
Before attempting final separation of the front loader bucket, establishing proper support is crucial for safety and equipment protection. Position the bucket flat on level ground, ideally on wooden blocks or specialized stands designed to accommodate its shape. This positioning distributes the bucket's weight evenly and prevents it from tipping once detached from the loader.
For the loader itself, engage all safety systems including parking brakes, wheel chocks, and frame locks if equipped. Lower the loader arms to their minimum height to reduce the center of gravity and improve stability. For articulated loaders, engage the articulation lock to prevent unexpected frame movement during the separation process.
Consider the working environment when planning the separation. Ensure sufficient space around the equipment for personnel movement and tool access. The ground should be firm and level, capable of supporting both the loader and the detached bucket without shifting. For operations in confined spaces or challenging environments, develop a detailed separation plan that addresses specific space constraints and potential hazards.
Execute Controlled Separation Procedures
The actual separation of the bucket from the loader requires careful execution to prevent damage and ensure safety. With all connections loosened but still partially engaged, position the loader to minimize stress on remaining attachment points. This typically involves adjusting the bucket angle to neutral and slightly raising the loader arms to reduce binding at connection points.
Command clear communication between all personnel involved in the separation process. Designate a single person to direct the loader operator, using standardized hand signals or radio communication. Establish emergency stop procedures before beginning the operation.
As the final connections are removed, the bucket's weight transfer must be carefully managed. In some cases, a controlled lowering using the loader's hydraulics is appropriate, while in others, secondary support equipment like forklifts or cranes may be necessary. Never rush the separation process—gradual, controlled movement prevents sudden shifts that could damage equipment or create safety hazards.
Perform Post-Separation Inspection
Once the front loader bucket is successfully separated, conduct a thorough inspection of both the bucket and the loader attachment points. Examine bucket mounting surfaces for wear, deformation, or cracking that might indicate stress points or improper loading during operation. Pay particular attention to high-stress areas such as pin connection points, load-bearing surfaces, and reinforcement gussets.
For the loader, inspect all exposed connection components including pins, bushings, and hydraulic couplings. Look for abnormal wear patterns that might suggest alignment issues or potential failures. Check exposed hydraulic components for leaks or damage that could introduce contaminants into the system.
Document your findings with photographs and detailed notes, particularly if replacement parts or repairs are needed. This documentation serves multiple purposes: it creates a maintenance history for the equipment, provides reference for future maintenance, and can help identify developing issues before they lead to catastrophic failures. For components exhibiting significant wear, consider proactive replacement rather than waiting for failure during operation.
FAQ
1. How often should a front loader bucket be removed for maintenance?
The frequency of bucket removal depends on usage intensity and operating conditions. In general, perform a comprehensive inspection of bucket connection points every 500 operating hours or bi-annually, whichever comes first.
2 . What safety precautions should be taken when removing a front loader bucket?
Safety is paramount when removing any heavy attachment. Always position the equipment on level ground, shut down the engine, engage parking brakes, and remove the key before beginning work. Use proper personal protective equipment including gloves, safety glasses, and steel-toed boots. Never work alone when removing large attachments—have a spotter available. Use appropriate lifting equipment rated for the bucket's weight, and never position yourself under suspended loads. Follow lockout/tagout procedures for hydraulic systems to prevent accidental actuation.
3. Can I replace my standard bucket with a specialized attachment without professional help?
While it's possible for experienced operators to change attachments, manufacturer training and proper equipment are essential. Different attachments have varying weight distributions and connection requirements that may necessitate counterweight adjustments or hydraulic reconfiguration. For first-time installations of specialized attachments, professional assistance ensures proper setup and adjustment. Always consult your equipment's operation manual for attachment compatibility, and never exceed the loader's rated operating capacity with heavier attachments.
Bucket Loader For Sale

Eager to improve your loading efficiency? Tiannuo's front loader bucket is here to help. Our bucket, exemplified by the Shante ZL50 model, has a width of 2.24 m, a bottom width of 0.5969 m, and a depth of 0.025 m. It also features a rated load of 5000 kg, an unloading height of 3090 mm, and a maximum breakout force of 170 kN. Contact us at arm@stnd-machinery.com, rich@stnd-machinery.com, or tn@stnd-machinery.com to learn more about how our bucket can benefit your business.
References
Smith, J. (2023). Heavy Equipment Maintenance: Front End Loader Attachments. Construction Equipment Journal.
Machinery Maintenance Associates. (2022). Service Manual for Industrial Front Loaders and Attachments. Technical Publications Division.
Zhang, L. (2023). Optimizing Equipment Changeover in Construction Operations. International Journal of Construction Engineering.
Peterson, R. (2022). Safety Protocols for Heavy Equipment Maintenance. Occupational Safety Review.
Construction Equipment Manufacturers Association. (2023). Industry Standards for Quick-Attach Systems on Front End Loaders.
Johnson, T. & Williams, P. (2022). Advanced Techniques in Construction Equipment Maintenance. Industrial Press Publications.
About Author: Arm
Arm is a leading expert in the field of specialized construction and railway maintenance equipment, working at Tiannuo Company.
YOU MAY LIKE
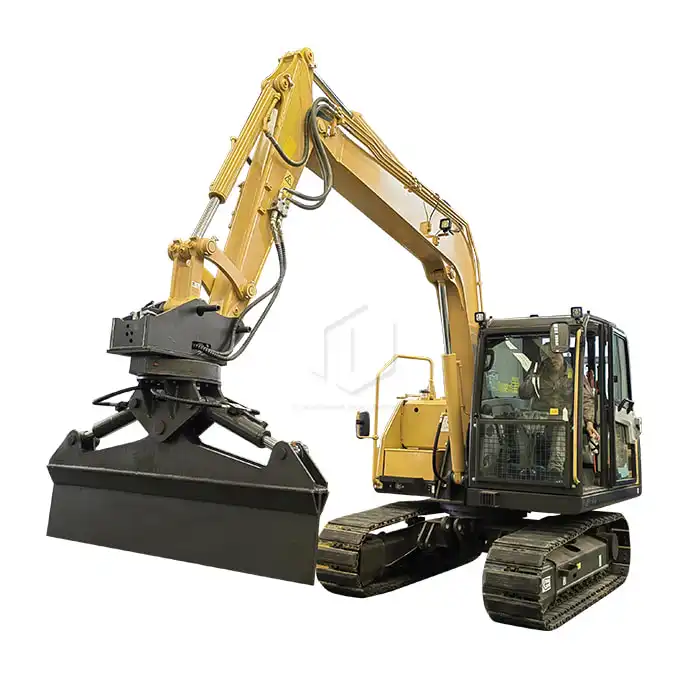 VIEW MOREExcavator Railway Slope Cleaning Machine
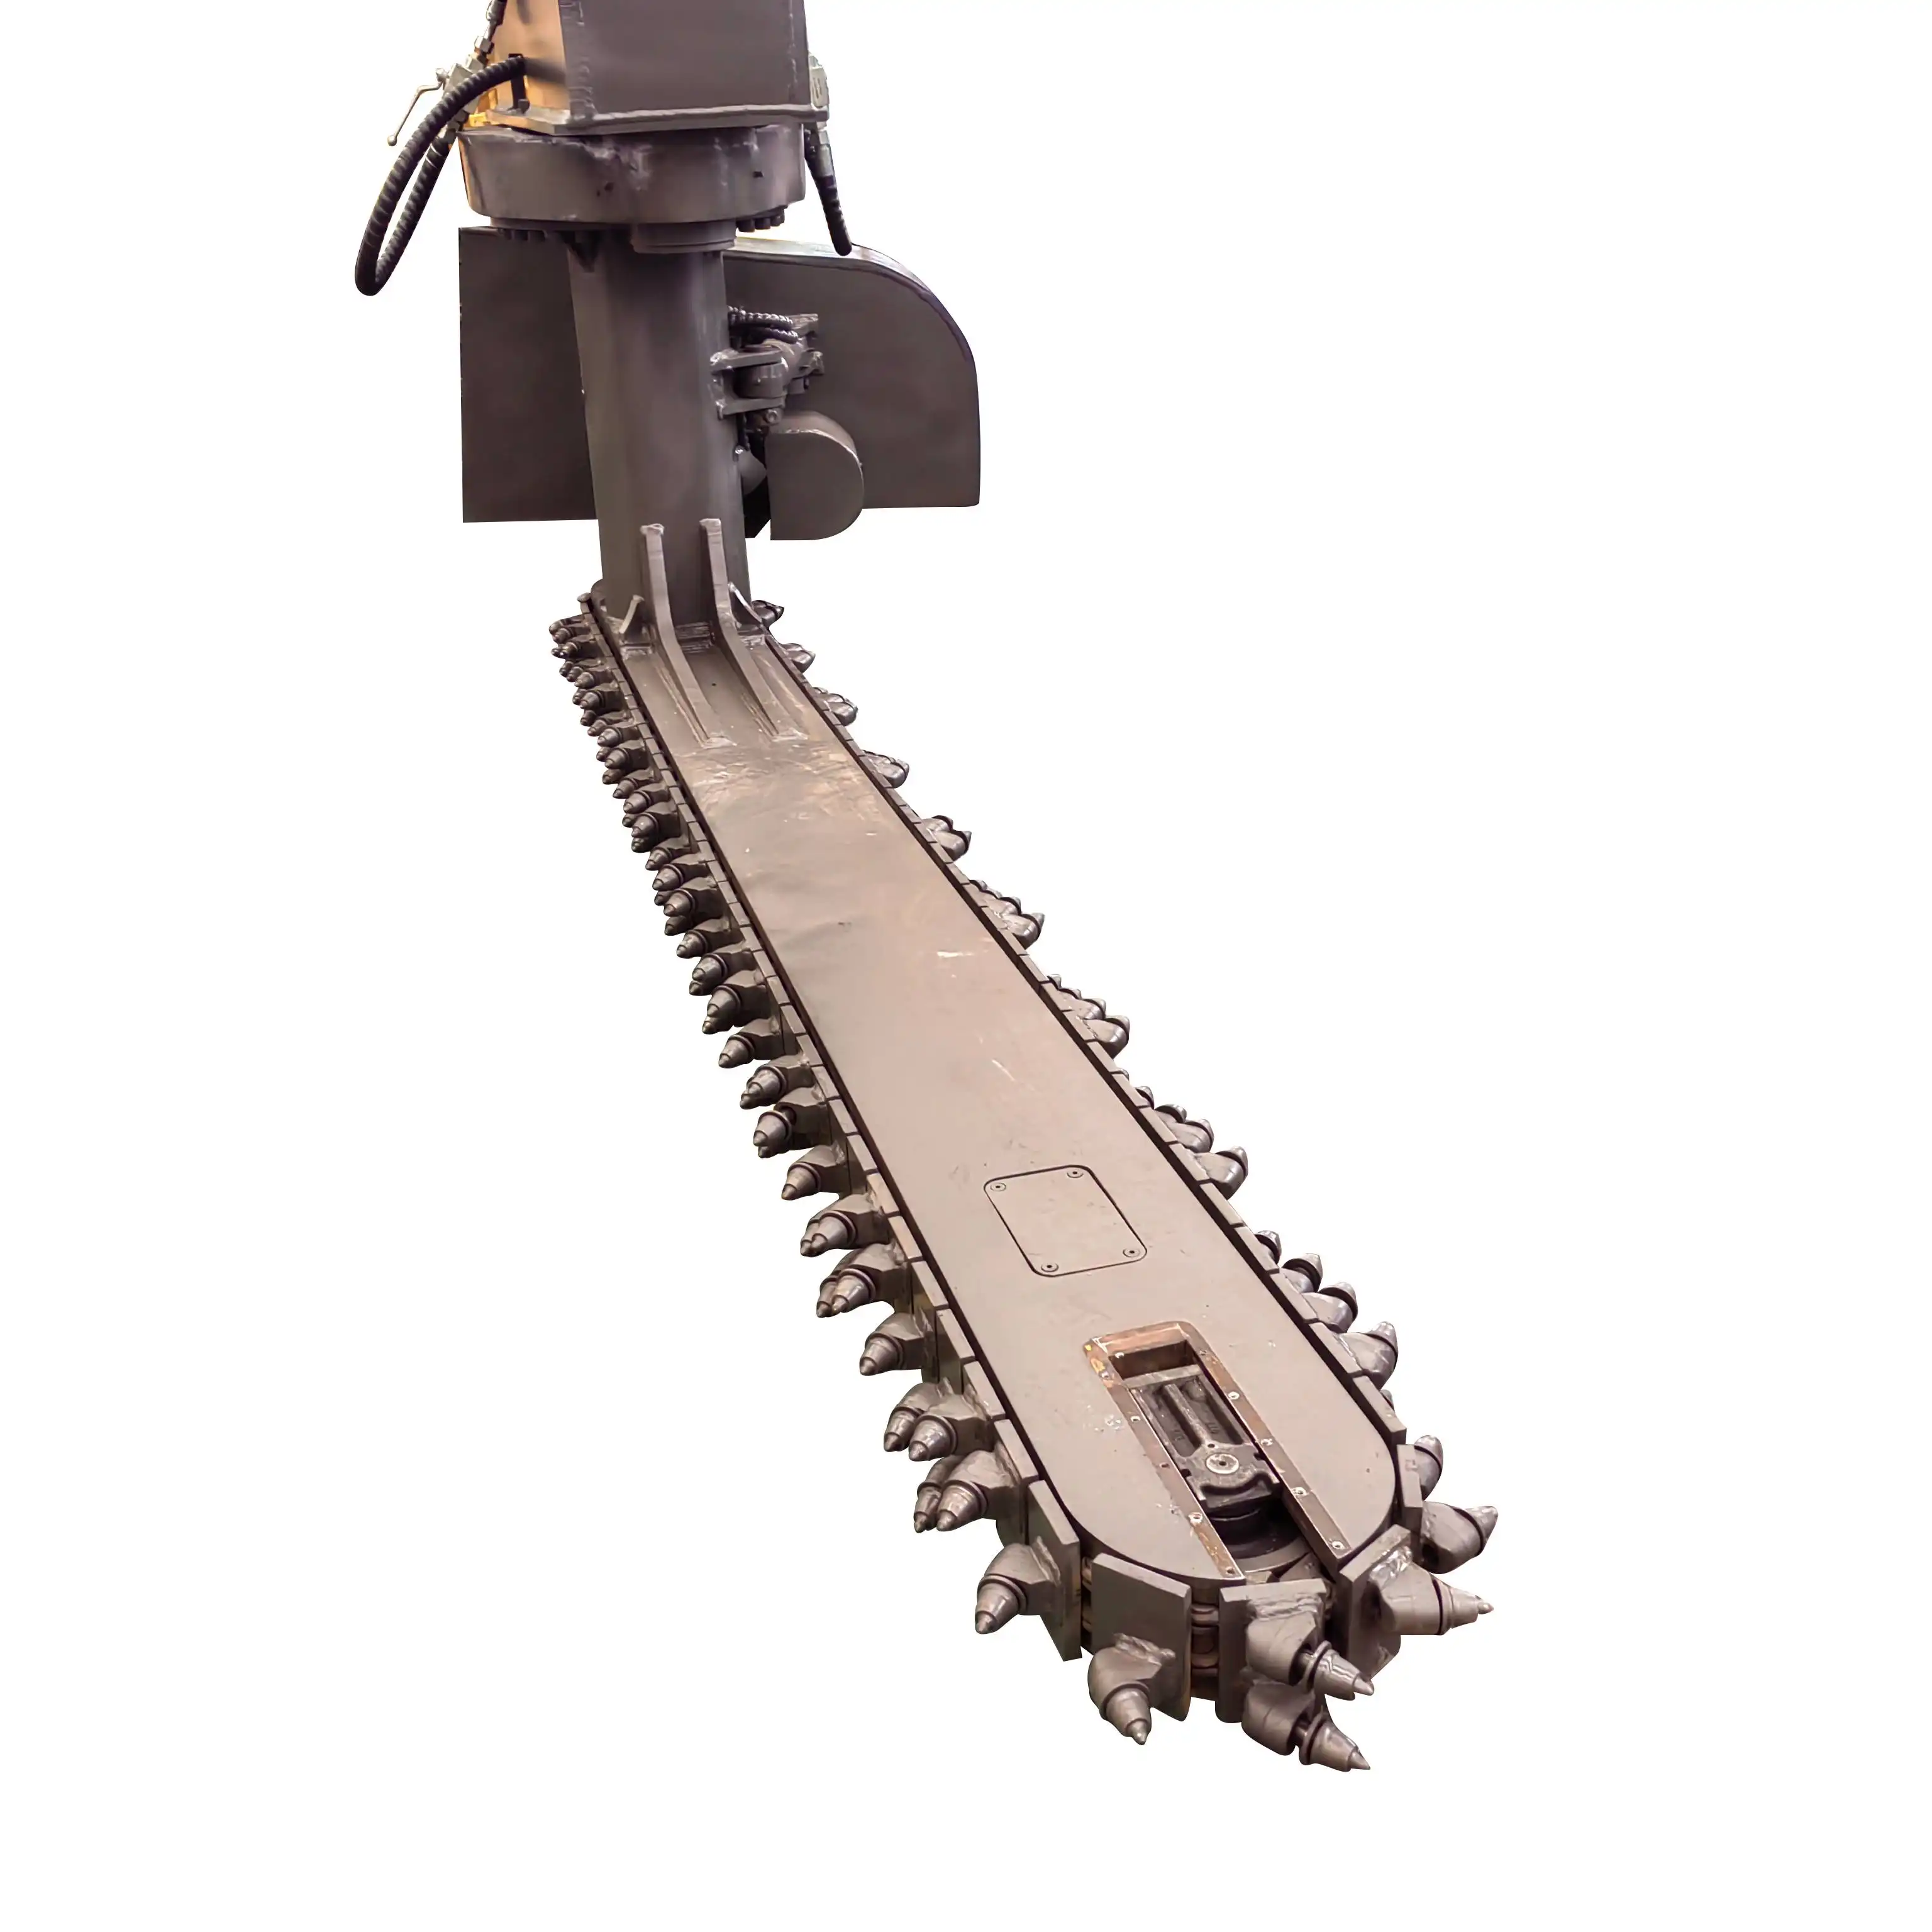 VIEW MORERail-Road Ballast Undercutter Excavator
_1733877348138.jpg) VIEW MORELoader Tire Protection Chain
VIEW MORELoader Tire Protection Chain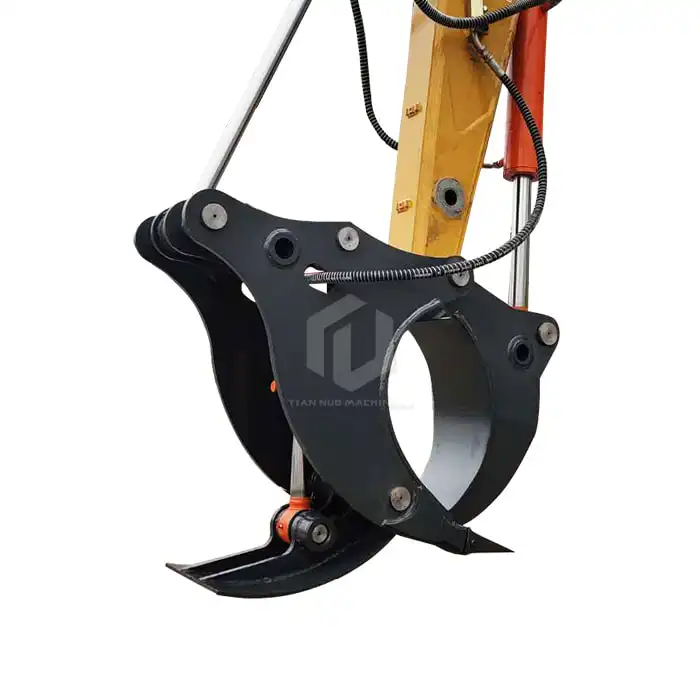 VIEW MOREExcavator Tree Stumper
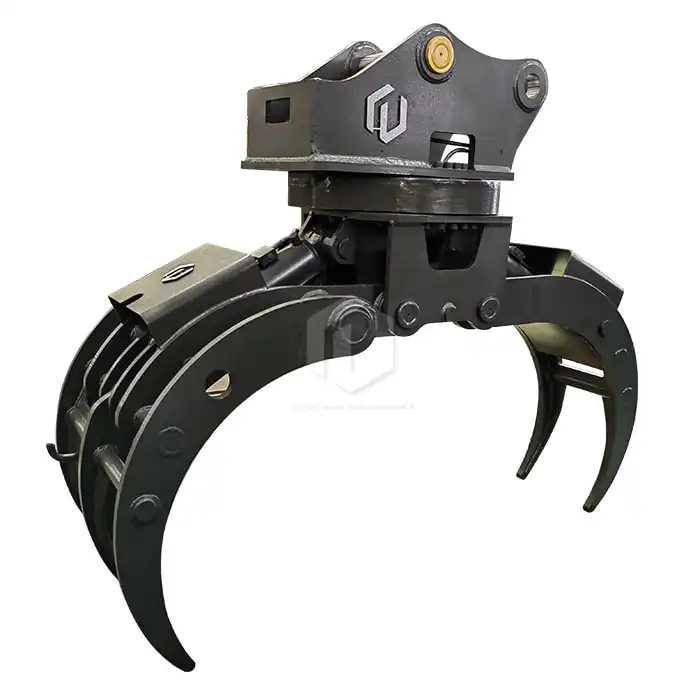 VIEW MOREExcavator Wood Clamps
 VIEW MORESeaside Excavator Heightening Column
 VIEW MORERail Track Trolley
 VIEW MORERailway Excavator Cleaning Bucket

