
How to install an excavator gripper?
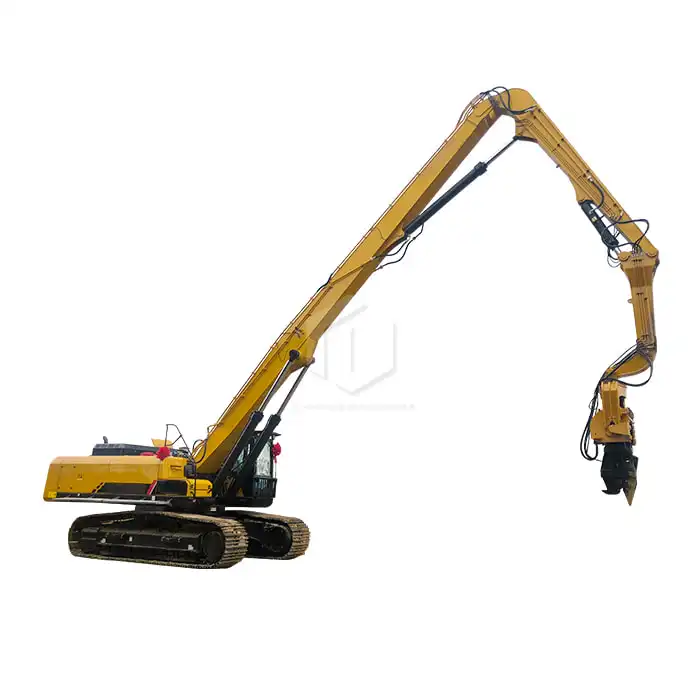
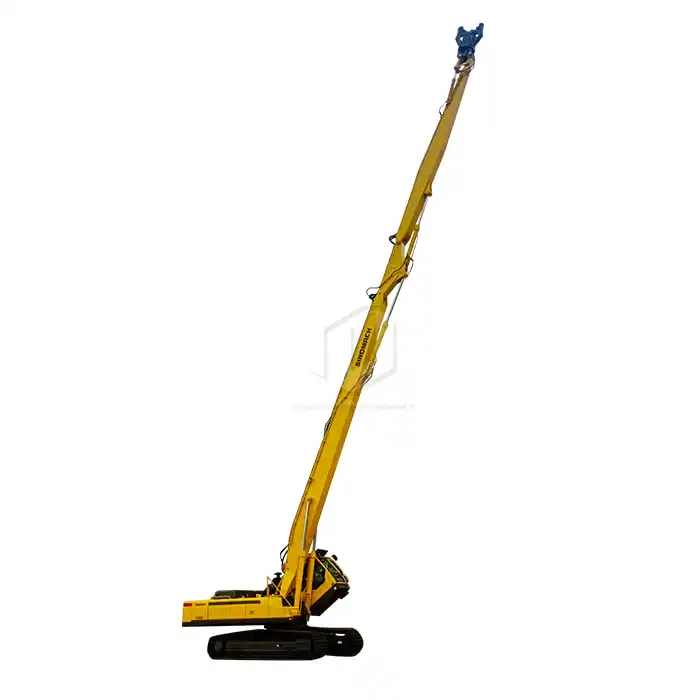
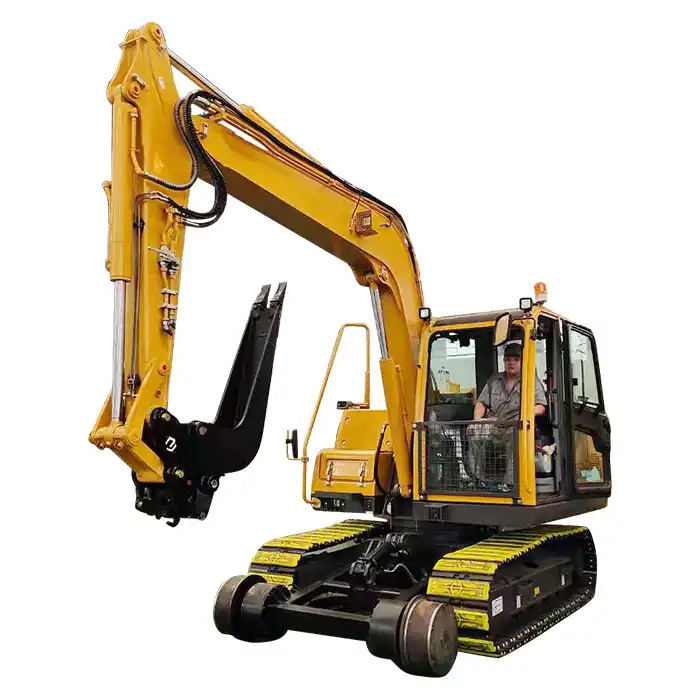
Installing an excavator gripper requires careful planning and precise execution to ensure proper functionality and safety. The installation process involves several crucial steps, from preparation and disassembly to final testing. A properly installed gripper for excavator enhances productivity in various applications including railway construction, demolition, waste management, and forestry operations. This comprehensive guide walks through the complete installation process, providing industry professionals with detailed instructions and best practices to achieve optimal performance from their equipment.
Its installation typically takes between 4-6 hours depending on the excavator model and gripper specifications. You'll need basic mechanical tools, hydraulic equipment, and safety gear. Following manufacturer guidelines is essential to maintain warranty coverage and ensure safety compliance. This guide covers the key phases: preparation, disassembly, installation, connection, commissioning, and testing - each critical for successful implementation and operation of your excavator attachment.
Preparation And Disassembly

Equipment and Safety Requirements
Before beginning the installation process, gather all necessary equipment and ensure proper safety measures are in place. The installation of an excavator gripper requires specific tools and adherence to safety protocols to prevent accidents and equipment damage during the process.
Essential equipment includes a complete set of mechanical tools (wrenches, sockets, pliers), hydraulic equipment for fluid management, lifting apparatus capable of handling the gripper's weight, and personal protective equipment. Always park the excavator on level ground, engage the parking brake, and shut down the engine before proceeding with any installation work.
Documentation requirements include the manufacturer's installation manual, hydraulic diagrams, and warranty information. Review these materials thoroughly before beginning installation to understand the specific requirements for your gripper model and excavator type.
Bucket Removal Process
The first step in installing a new gripper attachment is removing the existing bucket or attachment from your excavator. This process must be executed carefully to avoid damage to the excavator arm and hydraulic system.
Begin by positioning the excavator arm in an accessible position, typically with the attachment resting flat on the ground. Relieve hydraulic pressure from the system by toggling the controls after engine shutdown. Remove hydraulic connections methodically, capping each line immediately to prevent contamination and fluid leakage.
The attachment pins connecting the bucket to the excavator arm must be removed systematically. Start with secondary pins, typically on the bucket linkage, followed by the main attachment pins. Some models use hydraulic quick couplers, which require a different removal sequence according to the manufacturer's specifications.
Hydraulic System Preparation
Proper preparation of the hydraulic system is crucial for successful gripper installation and operation. This preparation ensures compatibility between the excavator's hydraulic system and the new gripper attachment.
Inspect the excavator's existing hydraulic lines for wear, leaks, or damage that could compromise the new installation. The hydraulic system may require modifications depending on your gripper model and excavator specifications. Common modifications include adding auxiliary hydraulic lines, installing flow dividers or pressure regulators, and upgrading hydraulic pumps if necessary.
Clean all hydraulic connection points thoroughly, as contamination in the hydraulic system can cause significant operational issues. Verify that your excavator's hydraulic output (pressure and flow rate) matches the gripper's requirements to ensure optimal performance and prevent potential damage.
Installation And Connection

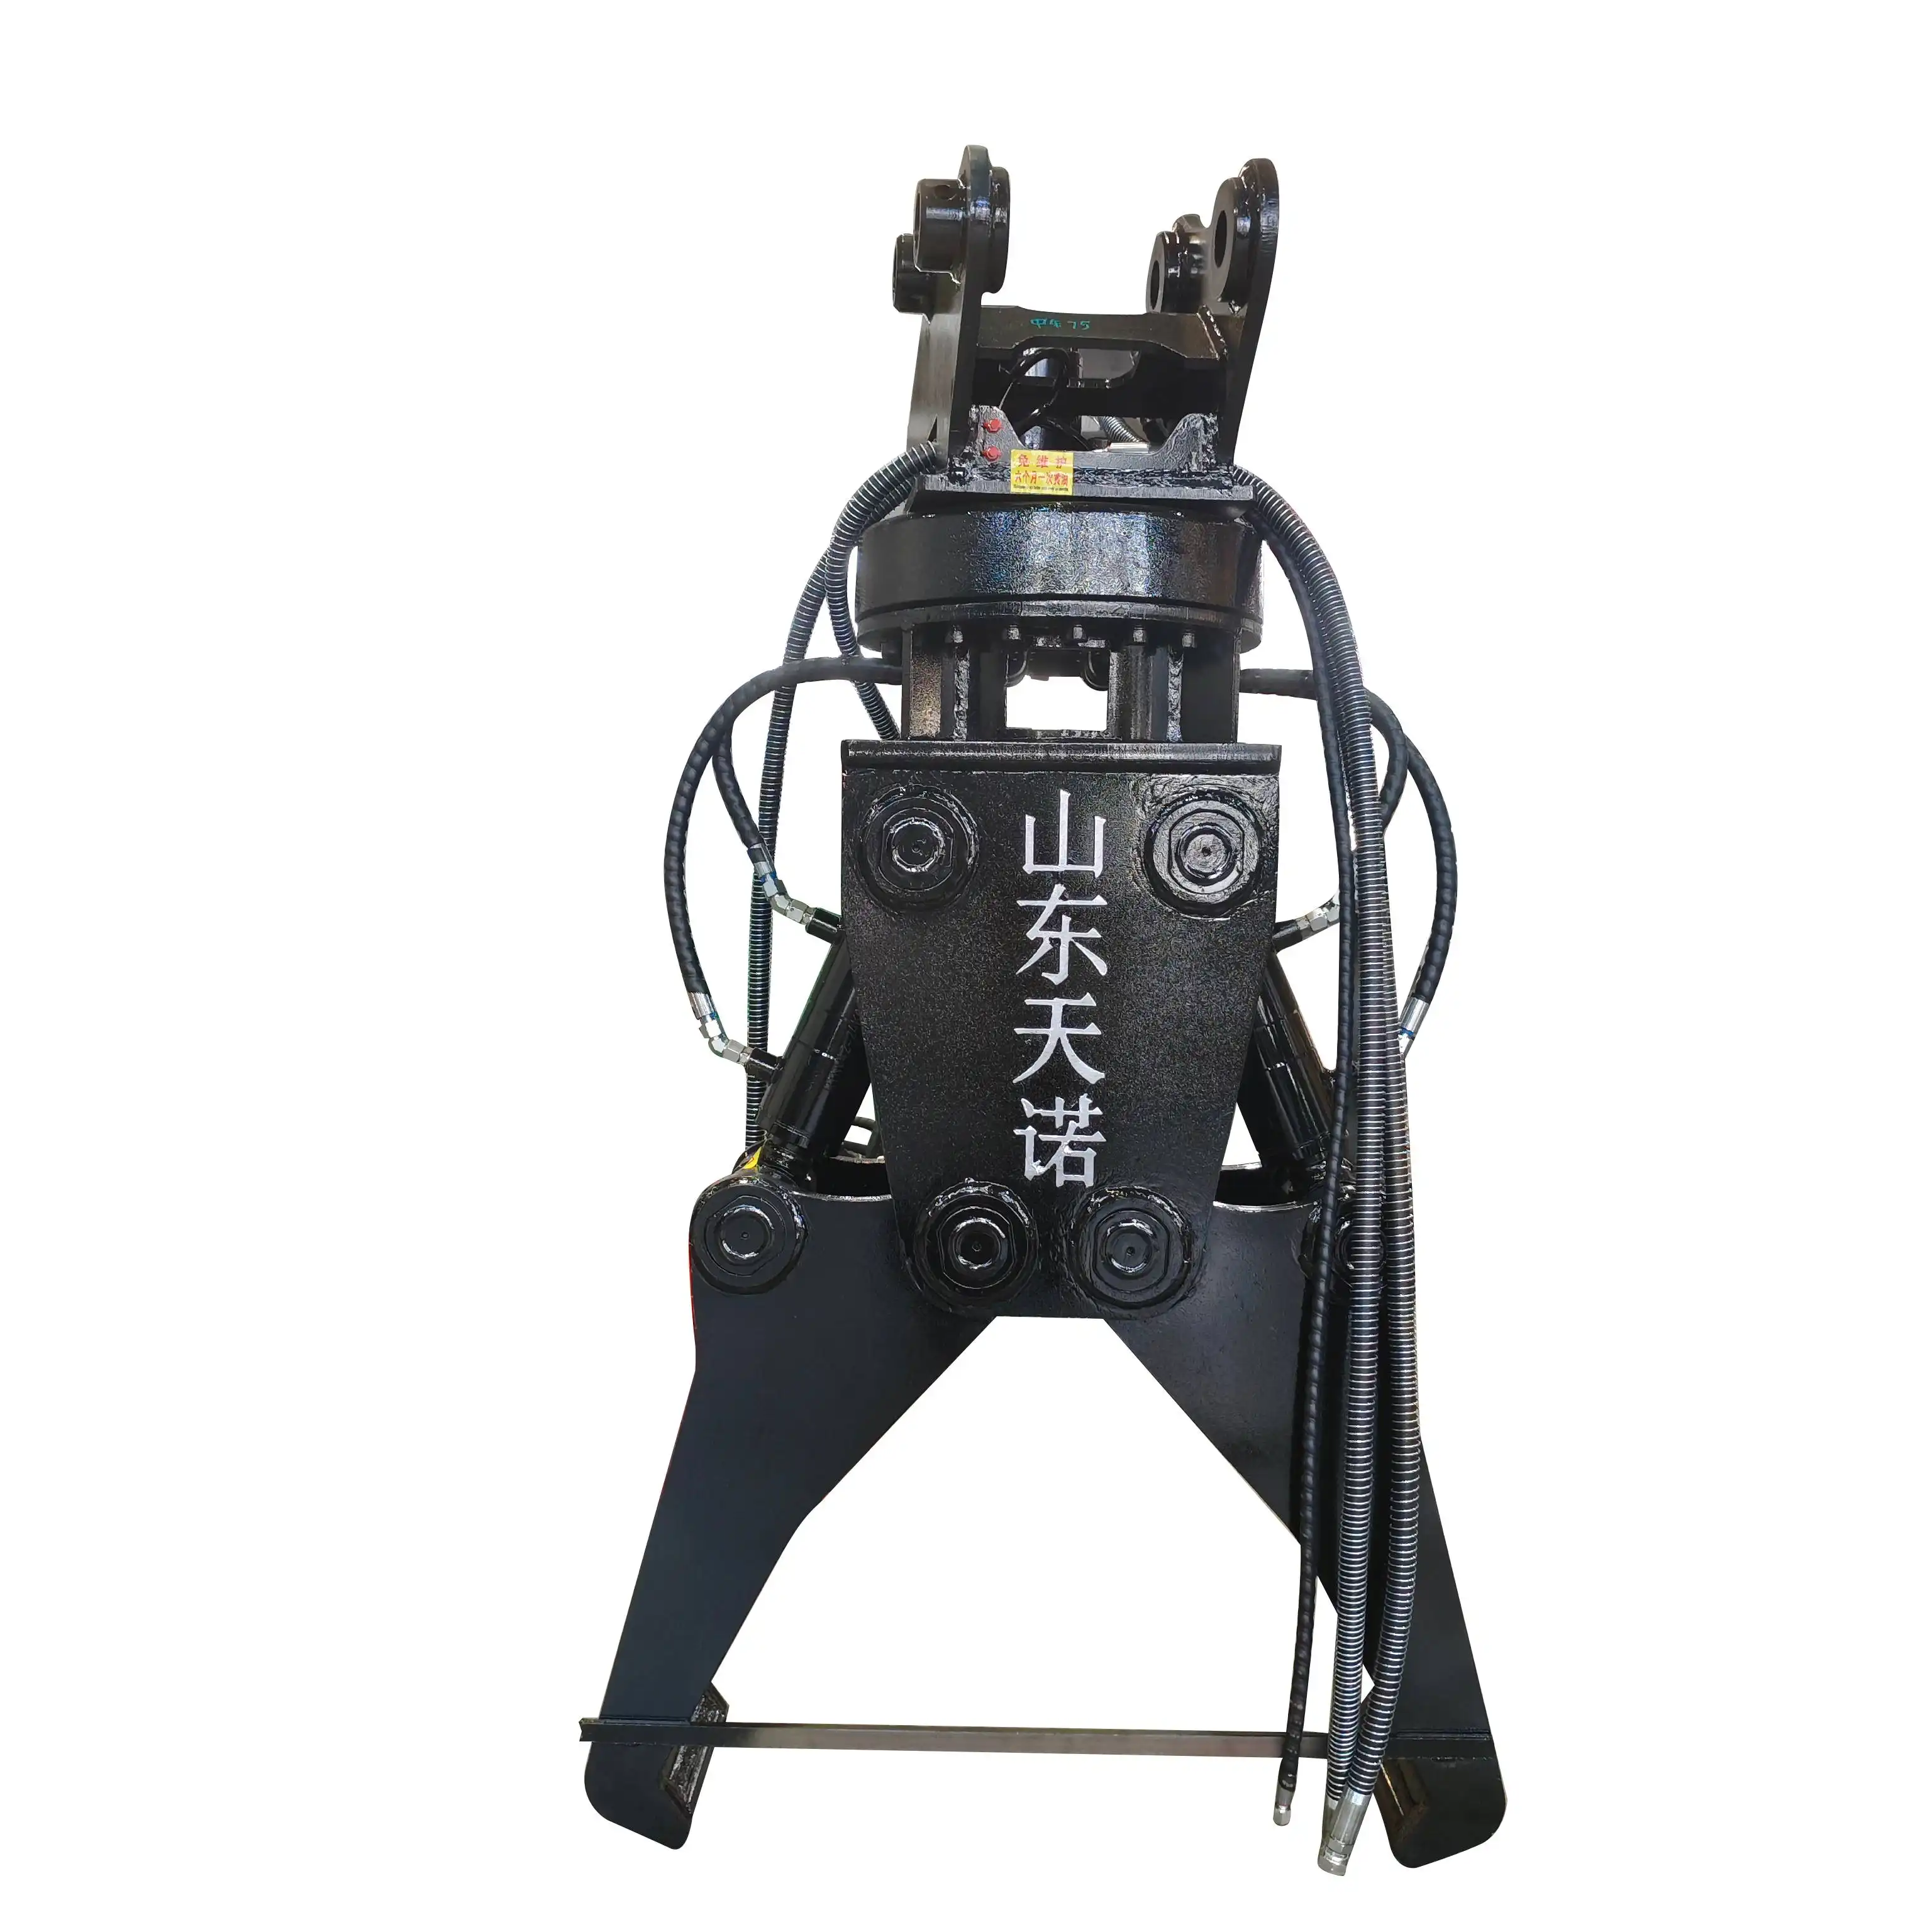
Gripper Mounting Procedure
Mounting the gripper to the excavator arm requires precision and attention to detail. The mounting process varies slightly depending on the excavator model and gripper design, but generally follows a standard sequence.
Position the gripper on stable supports, allowing access to mounting brackets and connection points. Align the excavator arm with the gripper's mounting points, ensuring perfect alignment before making any connections. The insertion of mounting pins must follow the manufacturer's specified sequence, typically starting with primary pins followed by secondary linkage pins.
Torque specifications for mounting hardware are critical and must be followed precisely. Under-torquing can lead to loose connections and potential equipment failure, while over-torquing can damage threads and mounting brackets. Use a calibrated torque wrench to achieve the correct specifications.
Finally, secure all pins with appropriate locking mechanisms such as cotter pins, lock nuts, or retaining clips as specified by the manufacturer to prevent disconnection during operation.
Hydraulic Connection Details
The hydraulic connections between the excavator and gripper constitute a critical phase of the installation process. Proper hydraulic integration ensures smooth, responsive control and optimal performance of the gripper attachment.
Begin by identifying the primary and secondary hydraulic circuits that will power the gripper. Most excavator grippers require connections to both the main hydraulic circuit and auxiliary circuits for advanced functions. Follow the hydraulic schematic provided by the manufacturer when making connections, ensuring each line is connected to the appropriate port.
Hose routing requires careful planning to prevent pinching, rubbing, or excessive bending during excavator operation. Secure hydraulic hoses with appropriate clamps and protective sleeves at regular intervals, particularly at potential wear points or where hoses cross moving joints.
Use appropriate hydraulic fittings and adapters as specified by the manufacturer, ensuring compatibility with your excavator's hydraulic system. Apply thread sealant as recommended, avoiding excessive use that could contaminate the hydraulic fluid.
Electrical and Control System Setup
Many modern excavator grippers incorporate electrical components and control systems that require proper installation and calibration for optimal functioning.
The wiring harness installation must follow the manufacturer's routing guidelines to prevent damage from excavator movement, environmental exposure, or operational hazards. Connect the control module according to the provided schematics, ensuring proper grounding and power supply connections.
Operator controls may need integration with existing control systems. This might involve installing additional joystick buttons, foot pedals, or touchscreen interfaces. Follow the calibration procedures outlined in the installation manual to ensure the control system correctly interprets operator inputs and transmits appropriate commands to the gripper.
Some advanced gripper systems incorporate sensors and feedback mechanisms that require additional setup and testing. These may include pressure sensors, position encoders, or proximity switches that enhance operational precision and safety features.
Commissioning And Testing

Initial Operational Checks
After completing the physical installation and connections, conduct thorough initial checks before full operational testing of the excavator gripper.
Begin with a comprehensive visual inspection of all installation components, including mounting hardware, hydraulic connections, and electrical systems. Check for any loose components, hydraulic leaks, or wiring issues that may have been overlooked during installation.
Perform a system pressurization sequence as specified by the manufacturer. This typically involves starting the excavator engine at low RPM, engaging the hydraulic system gradually, and monitoring pressure gauges for expected readings. Inspect all connection points for leaks under pressure before proceeding.
Movement testing should begin with slow, controlled actuations of each gripper function while monitoring for smooth operation, unusual noises, or erratic movements that could indicate installation issues. Verify that all control inputs produce the expected gripper responses before proceeding to more demanding tests.
Load Testing Procedures
Load testing verifies that the gripper can handle its rated capacity safely and efficiently after installation. This critical phase ensures the installation meets performance requirements before putting the equipment into regular service.
Begin with no-load function testing, operating each gripper movement through its full range of motion multiple times to verify smooth operation and proper hydraulic function. Progress to light load testing with materials weighing approximately 25% of the gripper's rated capacity, gradually increasing to full rated capacity after confirming proper operation at each step.
Monitor hydraulic pressures and temperatures throughout the load testing process. Elevated pressures or temperatures may indicate installation issues or incompatibilities between the excavator and gripper systems. Check for hydraulic leaks that might appear only under load conditions.
Evaluate grip security by lifting and manipulating test loads through various positions and movements. The gripper should maintain secure control of materials throughout the operational range without slippage or instability.
Calibration and Adjustments
Final calibration and adjustments optimize the performance of your newly installed excavator gripper, ensuring efficient operation and extended service life.
Hydraulic pressure adjustments may be necessary to achieve optimal gripper performance. Follow the manufacturer's specifications for pressure settings, making incremental adjustments and testing functionality after each change. Both main and auxiliary hydraulic circuits may require individual adjustment for different gripper functions.
Control system calibration ensures precise response to operator inputs. This may involve setting end-point limits, adjusting sensitivity parameters, or programming specific function sequences. Some advanced systems offer customizable settings to match operator preferences or specific job requirements.
Mechanical adjustments may include tensioning mechanisms, clearance settings, or stop position adjustments. These fine-tuning steps optimize gripper performance for specific materials and applications, maximizing efficiency and minimizing wear.
Document all final settings and adjustments for future reference during maintenance or troubleshooting. This documentation provides valuable baseline information for comparison if performance issues arise later.
FAQ
1. What are common installation mistakes to avoid?
Common installation mistakes include incorrect hydraulic connections, improper torquing of mounting hardware, inadequate hose routing, and skipping calibration steps. Failing to follow manufacturer specifications for hydraulic pressures can lead to performance issues or equipment damage. Always relieve system pressure before disconnecting hydraulic lines, use appropriate thread sealants sparingly, and secure all safety locking devices properly.
2.How often should hydraulic connections be inspected after installation?
Hydraulic connections should be inspected daily during the first week after installation, then weekly for the first month. After the initial period, incorporate inspection into regular maintenance schedules, typically every 100-200 operating hours. Immediate inspection is necessary if operators notice performance changes, unusual noise, or visible leakage.
3. Can an excavator gripper be installed on any excavator model?
Not all excavator grippers are compatible with every excavator model. Compatibility depends on factors including excavator weight, hydraulic capacity, boom configuration, and control systems. Consult with the gripper manufacturer to verify compatibility with your specific excavator model before purchase. Some adaptations may be possible with appropriate brackets and hydraulic modifications, but these should be approved by the equipment manufacturer.
Excavator Gripper Supplier

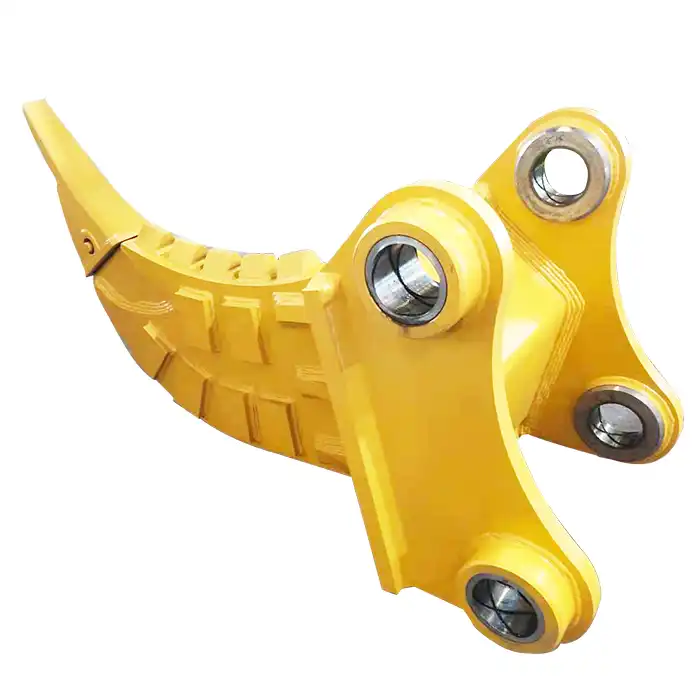
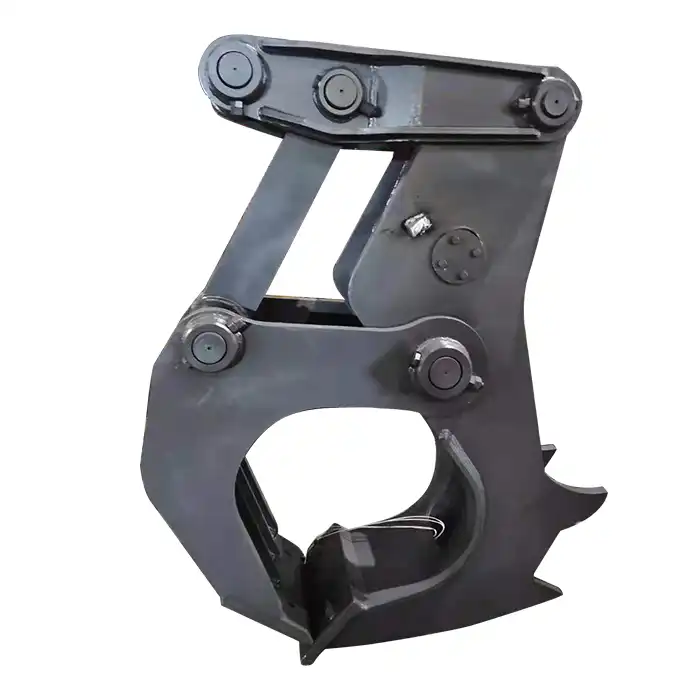
Are you ready to boost your excavation capabilities? Tiannuo Machinery's excavator gripper is designed to meet the demands of your toughest jobs. With a durable high-strength steel clamp body, adjustable clamp teeth for flexibility, and a powerful hydraulic oil-driven oil cylinder, our gripper offers superior performance. The hydraulic system controls the clamp movement with precision, thanks to the seamless pipeline connection to the control valve. Don't wait—contact us at arm@stnd-machinery.com, rich@stnd-machinery.com, or tn@stnd-machinery.com to experience the difference our gripper can make.
References
Technical Handbook of Excavator Attachments and Installation Protocols, 2023 Edition
Journal of Construction Equipment Maintenance and Operations, Volume 18: Hydraulic Systems Integration
Industrial Safety Standards for Excavator Attachment Installation, 2022 Revision
Mechanical Engineering Review: Torque Specifications for Heavy Equipment Applications
Hydraulic Systems Design and Implementation in Construction Equipment
Heavy Equipment Operator's Guide to Attachment Testing and Calibration
About Author: Arm
Arm is a leading expert in the field of specialized construction and railway maintenance equipment, working at Tiannuo Company.
_1740558626327.webp)