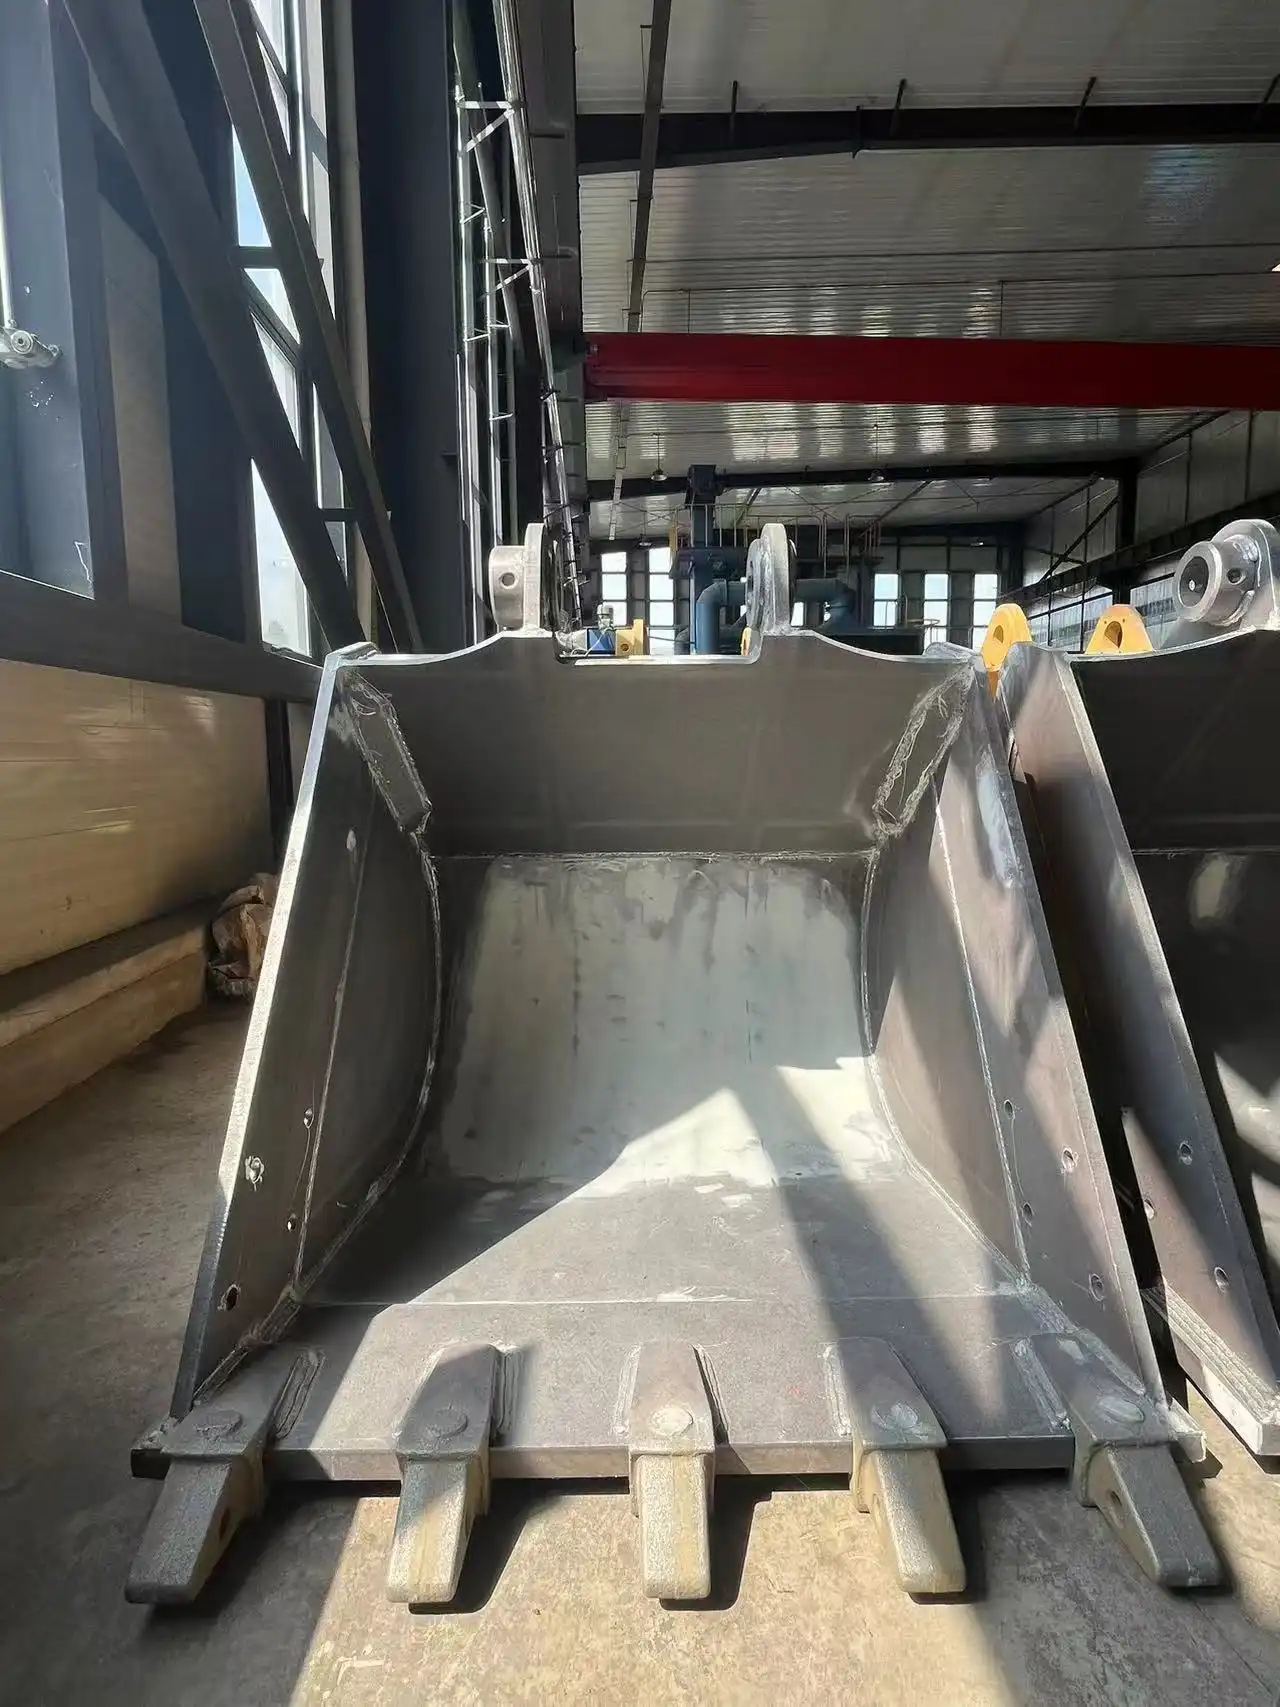
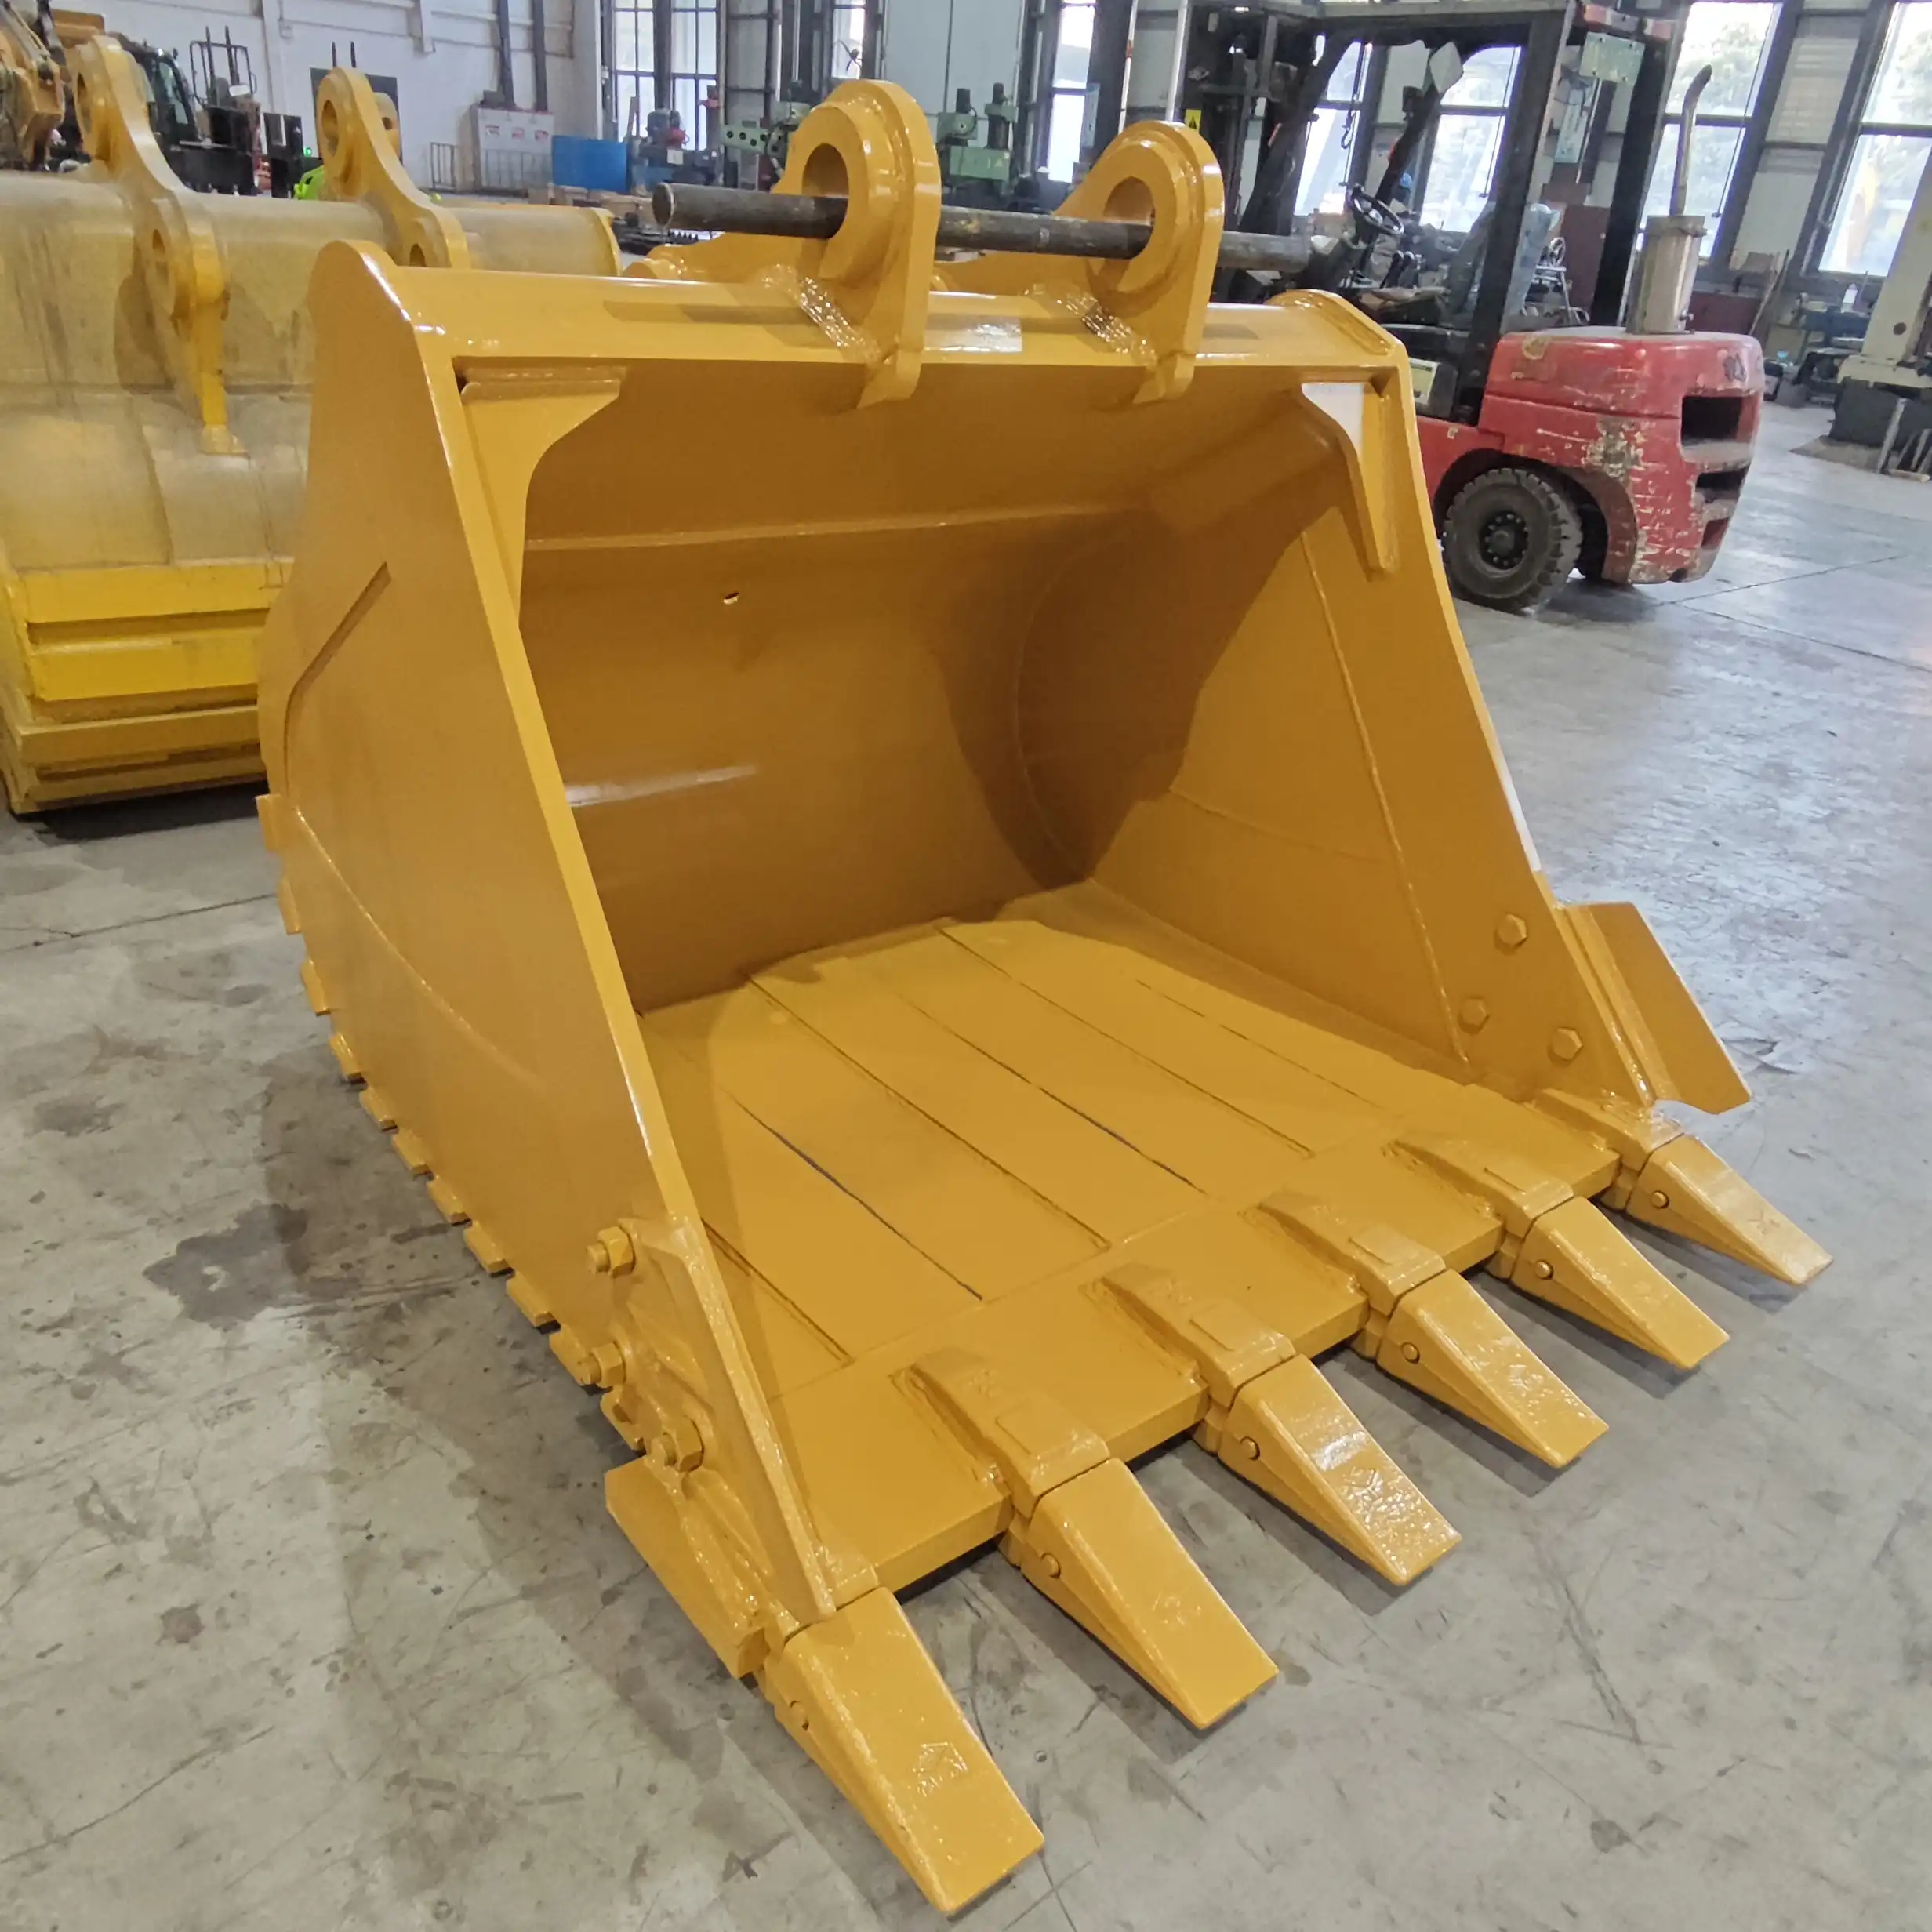
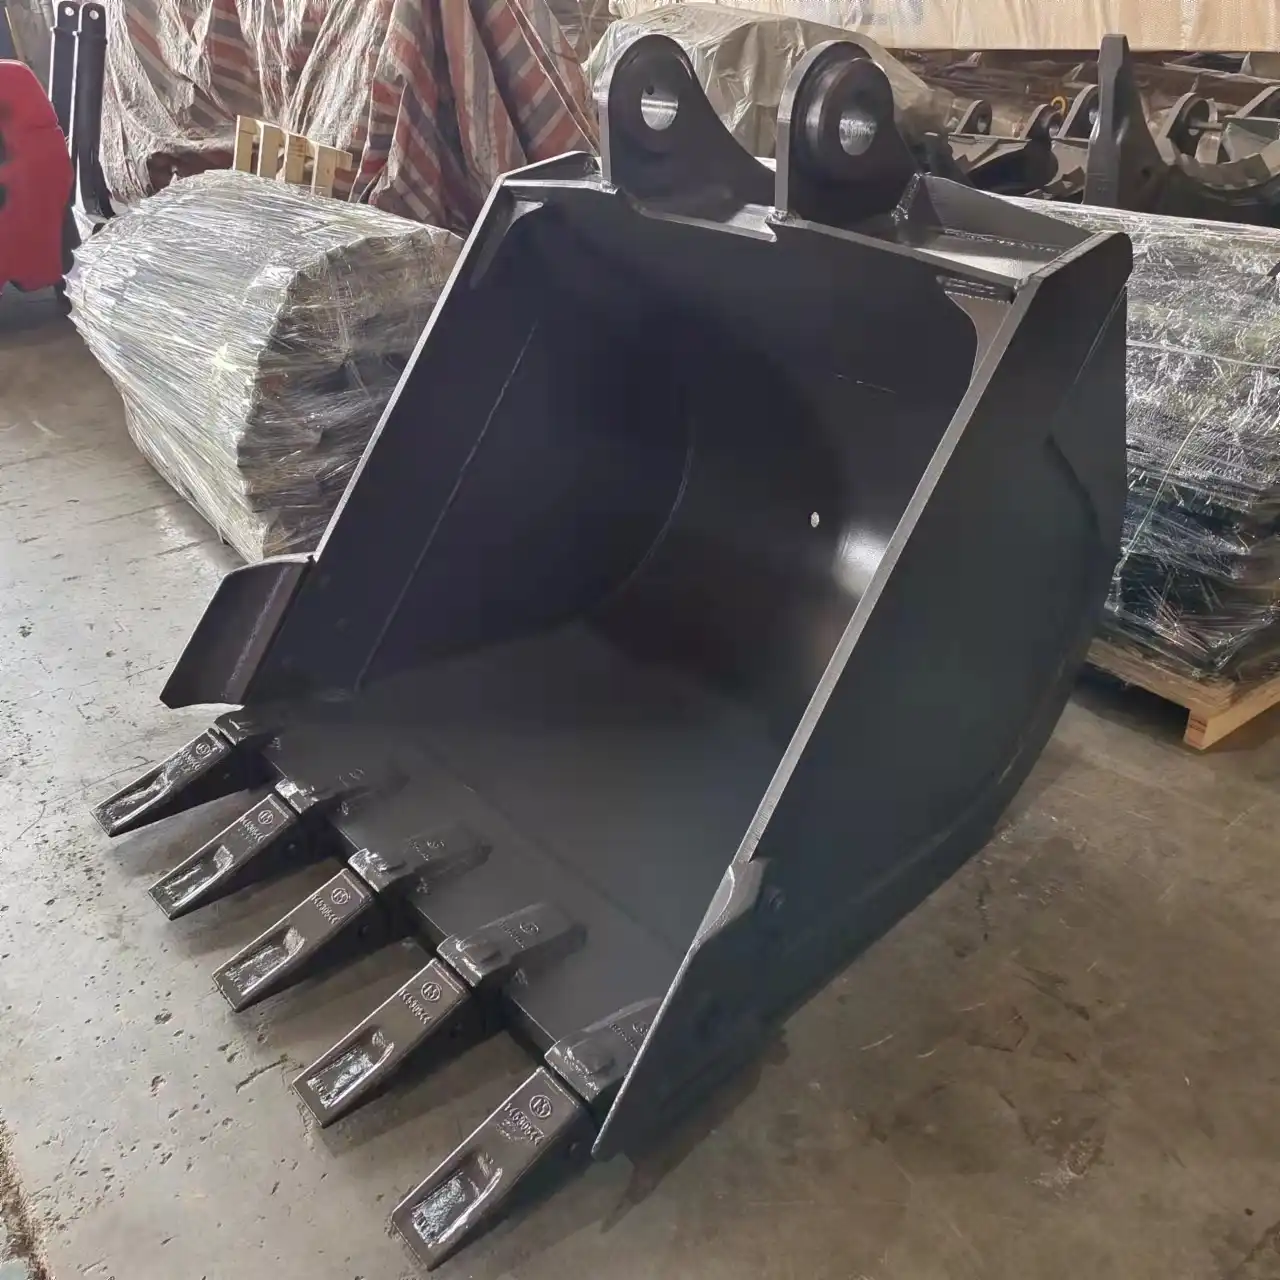
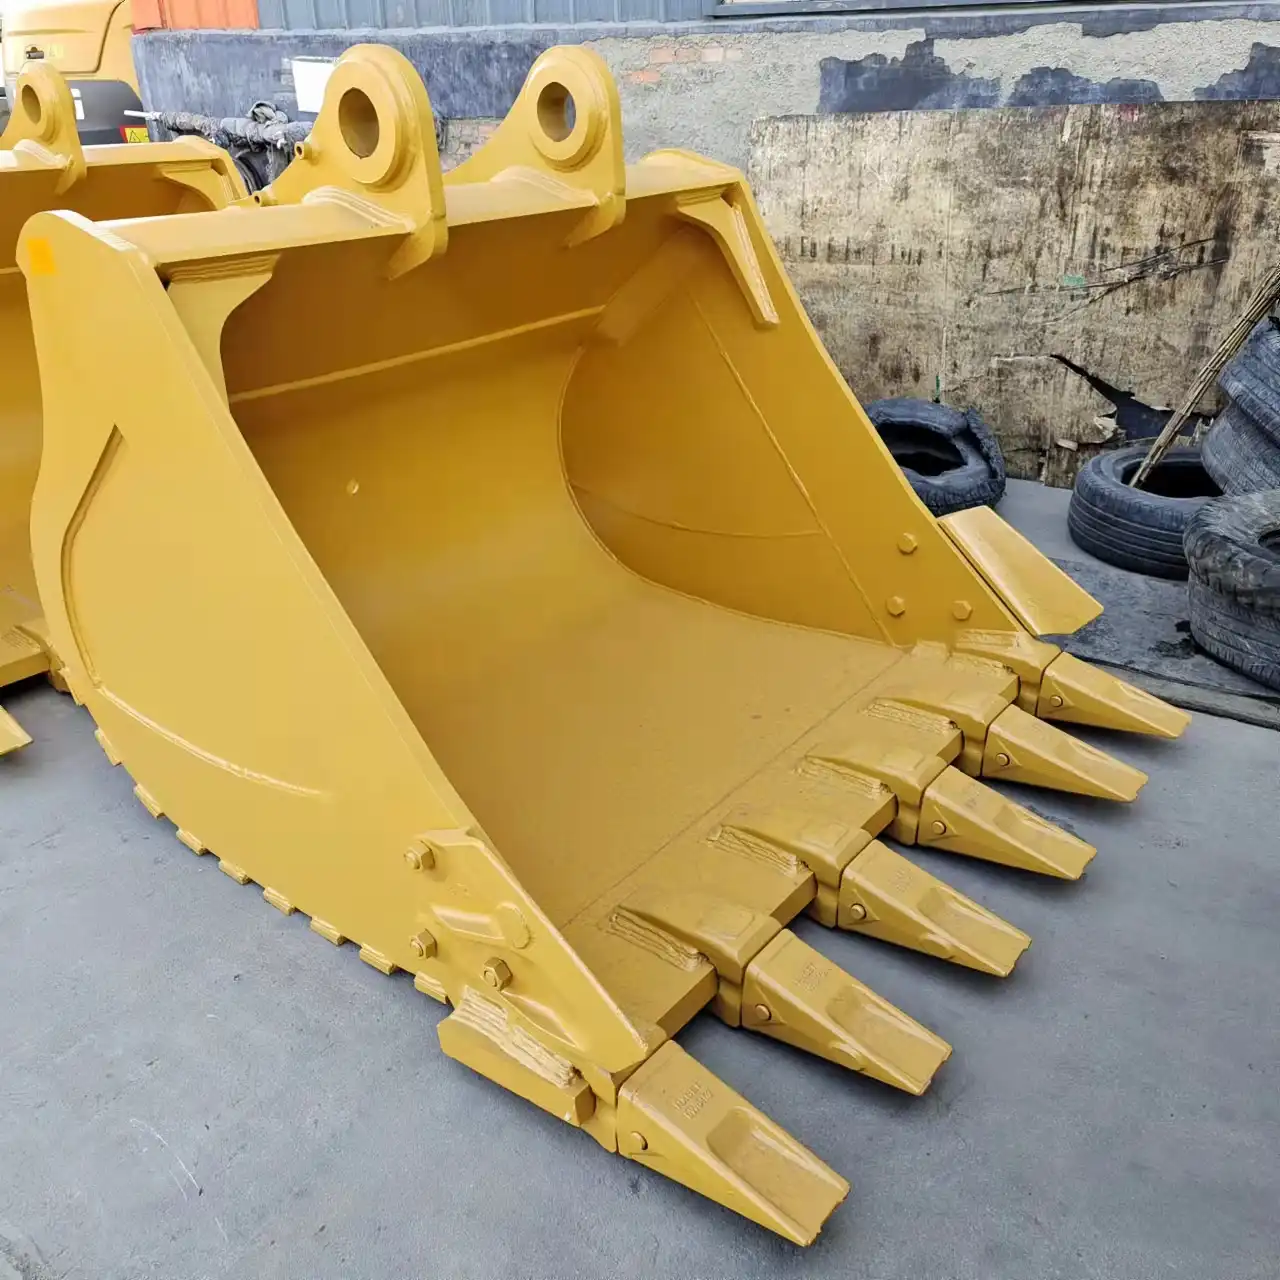
How to change the bucket on an excavator?
Changing an excavator bucket is a fundamental maintenance task that requires proper technique and safety awareness. The process involves disconnecting the old bucket by removing securing pins and connections, then installing the new bucket by carefully aligning the attachment points. When performed correctly, changing a bucket takes approximately 15-30 minutes, depending on your experience level and the specific attachment system. Most excavators use either a pin-on system (requiring manual pin removal) or a quick coupler system (allowing faster changes).

Preparation and Removal of the Old Bucket

Safety Protocols and Equipment Setup
Before attempting to change any excavator bucket, prioritize safety by implementing proper protocols. Park the excavator on firm, level ground to prevent unexpected movement during the bucket change process. Fully lower the boom until the bucket rests lightly on the ground—this positions the attachment at an accessible height while relieving pressure on the connecting pins. Turn off the engine completely and remove the key from the ignition to eliminate any possibility of accidental startup during maintenance. Place the hydraulic safety lock in the "locked" position to prevent any unexpected arm or boom movement. Allow the hydraulic system to cool if the machine has been operating, as components may be hot. Gather all necessary tools before beginning, typically including a drift pin, hammer, screwdriver, and possibly penetrating oil for stubborn pins. Remember to wear appropriate personal protective equipment, including heavy-duty gloves, eye protection, and steel-toed boots to guard against potential injuries during the removal process.
Positioning and Preparing the Work Area
Creating an optimal work environment enhances both safety and efficiency when changing an excavator bucket. Clear the surrounding area of any obstacles or debris that might interfere with bucket removal or installation operations. Position the excavator so that both sides of the bucket attachment points are easily accessible—this may require adjusting the machine's location several times until optimal positioning is achieved. Place the bucket flat on level ground or wooden blocks to support its weight evenly during detachment. For larger machines, consider having an assistant available to help guide the bucket during removal and installation. Check weather conditions before beginning, as rain or extreme temperatures can complicate the process and create additional hazards. If working in a high-traffic area, set up safety cones or barriers to alert others to the maintenance activity. Maintain situational awareness throughout the procedure, paying special attention to pinch points between the bucket and arm where serious injuries can occur. Proper workspace preparation minimizes risks and streamlines the bucket change process considerably.
Disconnecting and Removing the Old Bucket
The most technical aspect of changing an excavator bucket involves carefully disconnecting it from the machine. First, identify the connection type—most excavators use either a pin-on system with mechanical pins or a quick coupler system. For standard pin-on systems, locate and remove the lynch pins (safety pins) that secure the main connecting pins in place. Using a drift pin or large screwdriver, push the bucket pins out carefully—never strike pins with excessive force as this may damage the bushings. If pins are resistant, apply penetrating oil and wait several minutes before attempting removal again. Once both the arm pin and link pin are removed, carefully maneuver the excavator arm away from the bucket, ensuring all connections are fully detached. For hydraulic buckets, ensure all pressure is released before disconnecting any hydraulic lines, and immediately cap open hydraulic fittings to prevent contamination. With all connections removed, position the old bucket in a designated storage area, ideally on wooden blocks to prevent rusting from ground contact. Throughout the removal process, maintain communication between the operator and ground personnel to coordinate movements precisely and prevent accidents.
Installation of the New Bucket

Inspecting and Preparing the New Bucket
Before installing a new excavator bucket, thorough inspection is critical for ensuring optimal performance and preventing premature failure. Examine the new bucket for any manufacturing defects, cracks, or damage that may have occurred during transportation. Check that all attachment points, particularly the pin holes, are clean and free from debris that could interfere with proper connection. Inspect the cutting edge and teeth (if applicable) to confirm they're properly secured and aligned—loose teeth can become dangerous projectiles during operation. For hydraulic buckets, verify that all hydraulic cylinders, hoses, and fittings are in good condition without leaks or damage. Apply a thin coat of high-quality grease to the pin holes and bushings to facilitate smooth installation and prevent premature wear. If the bucket features wear plates or protective liners, confirm they're securely attached. Measure the bucket's width and capacity to ensure it matches your project requirements and machine specifications. Proper preparation of the new bucket prevents installation complications and extends the service life of both the attachment and the excavator.
Aligning and Connecting the New Bucket
Proper alignment is the most critical factor when installing a new excavator bucket. Position the new bucket directly under the excavator's arm and link assembly, ensuring it's placed on level ground for stability. Carefully lower the excavator arm until the arm pin holes align with the corresponding holes on the bucket—this often requires small, precise adjustments of the boom and stick. Once aligned, insert the arm pin through the holes by hand—if significant force is required, recheck the alignment as forcing pins can damage bushings. After securing the arm connection, articulate the excavator's hydraulic controls to align the link assembly with the rear bucket connection point. Insert the link pin using the same careful alignment technique, ensuring it slides in smoothly without forcing. For both pins, install the securing mechanisms (lynch pins, cotter pins, or lock bolts) according to the manufacturer's specifications. With hydraulic buckets, reconnect the hydraulic lines, ensuring all fittings are clean before connection and tightened to proper specifications. Throughout the connection process, keep all body parts clear of potential pinch points between the bucket and excavator components to prevent serious injury.
Verifying Proper Installation
After completing the bucket installation, thorough verification prevents operational failures and safety hazards. Check that both the arm pin and link pin are fully inserted through their respective connections and properly secured with their retention devices (lynch pins or locking mechanisms). Visually inspect all pin connections from both sides of the bucket to confirm complete engagement. For hydraulic buckets, check all hydraulic connections for proper seating and any signs of leakage. With the bucket slightly raised off the ground, cycle the excavator through its full range of bucket movements—curling in completely, then extending fully—to verify smooth operation without binding or unusual noises. Test the bucket by applying light pressure against the ground, checking for any unexpected movement or slippage in the connections. Confirm that the bucket is oriented correctly relative to the arm, with proper angle and positioning for optimal digging performance. If any issues are detected during verification, immediately lower the bucket to the ground, shut down the machine, and correct the problem before operating. After 1-2 hours of initial operation, recheck all connections, as they may require minor adjustments after initial loading.
Final Adjustment and Securing

Checking and Tightening All Connections
Once the bucket is initially installed, a comprehensive check of all connections ensures safe operation. Verify that both the arm pin and link pin are fully inserted and properly secured with their respective locking mechanisms—this typically includes visual inspection from both sides of each connection. Confirm that any lynch pins or locking devices are fully engaged and cannot work loose during operation. For buckets with hydraulic functions like thumbs or clamps, inspect all hydraulic fittings for proper tightening—connections should be secure but not overtightened, which could damage threads or fittings. Check that hydraulic hoses are properly routed with sufficient slack for full bucket movement without stretching or pinching. Examine all grease fittings to ensure they're accessible for future maintenance. If the excavator uses a quick coupler system, verify that locking mechanisms are fully engaged according to manufacturer specifications. After completing these checks, perform a slow test cycle of the bucket through its full range of motion while watching for any unusual movement or sounds that might indicate improper connection. This comprehensive verification process prevents dangerous failures during actual operation and extends the service life of both the bucket and excavator.
Testing the Bucket's Operation
Thorough operational testing confirms that the newly installed excavator bucket will perform safely under working conditions. Begin testing with no-load operations—raise the bucket approximately one foot off the ground and cycle it through its complete range of motion, including full curl and extension. Listen for any unusual sounds that might indicate misalignment or binding. Next, perform light-load testing by scooping a small amount of material or applying light pressure against the ground. Observe the bucket's response, checking for any unexpected movement, vibration, or shifting at the connection points. For hydraulic buckets, verify that all functions operate smoothly with appropriate speed and power. Test the bucket's holding capacity by lifting a partial load and holding it stationary for 30 seconds, watching for any hydraulic drift or connection instability. If the excavator will be performing specific tasks, simulate these operations during testing—for example, trenching, grading, or material handling. Throughout testing, remain alert for hydraulic leaks, unusual noises, or visible movement at connection points, all of which indicate issues requiring immediate attention. This graduated testing approach identifies potential problems before the bucket is subjected to full operational loads.
FAQ

1. How often should excavator buckets be changed?
Under normal working conditions, inspect buckets weekly for wear and damage, replacing when cutting edges are worn beyond 50% of original thickness or when structural integrity is compromised. Teeth typically require replacement every 80-200 operating hours depending on material abrasiveness. Most excavator buckets have an overall lifespan of 1,500-3,000 operating hours when properly maintained, though this varies significantly based on application severity and maintenance practices.
2 . What are the different types of excavator buckets available?
The excavator industry offers numerous specialized bucket types for specific applications. Standard digging buckets feature a balanced design for general excavation work. Trenching buckets have a narrower profile for creating precise utility trenches. Heavy-duty rock buckets incorporate reinforced structures and specialized teeth for breaking and moving dense materials. Grading buckets feature a straight cutting edge without teeth for creating smooth, level surfaces. Ditch cleaning buckets have wide, shallow profiles for cleaning ditches and forming slopes. Skeleton buckets include openings that allow liquid to drain while retaining solid materials. Tilt buckets offer hydraulic angle adjustment for precision grading. High-capacity buckets maximize material volume for loading operations. Each bucket type optimizes the excavator's performance for specific job requirements, improving productivity and reducing operating costs when properly matched to the application.
The proper excavator bucket change procedure ensures both safety and machine performance. If you're looking to upgrade your excavator attachments or need customized solutions for specialized applications, contact Tiannuo Machinery for high-quality options designed for durability and performance. Our team of experts can help you select the right bucket for your specific needs and provide guidance on proper installation and maintenance. For more information or to request a quote, reach out to us at arm@stnd-machinery.com, rich@stnd-machinery.com, or tn@stnd-machinery.com.
References

Construction Equipment Maintenance Manual: Excavator Attachment Systems and Maintenance Procedures, 4th Edition (2023)
Modern Excavation Techniques: Equipment Operation and Safety Protocols (2022)
Heavy Equipment Operator's Handbook: Attachment Change Procedures and Best Practices (2024)
Journal of Construction Engineering: Analysis of Excavator Attachment Systems and Performance Optimization (Volume 43, Issue 2)
Safety Standards for Heavy Equipment Maintenance: OSHA Guidelines and Implementation (2023)
About Author: Arm
Arm is a leading expert in the field of specialized construction and railway maintenance equipment, working at Tiannuo Company. Tiannuo specializes in manufacturing a wide range of products, including railway maintenance equipment like railway sleeper changing machines and screening machines, excavator modification equipment such as excavator lifting cabs, various engineering arms for excavators, excavator accessories like digging buckets, and engineering vehicle auxiliary equipment like loader buckets.

